Photoshop-first AI workflow

From Photoshop selection to finished asset.

Refine concepts, generate production textures, and create high- or low-poly 3D drafts from one panel—without rebuilding your workflow around another AI dashboard.

  • Native Photoshop panel
  • No node setup
  • Cost shown before every run
AiPainter panel inside a Photoshop character-art workflow
Your canvas stays central. Pick a model, describe the change, review the cost, and generate.
01SelectUse the pixels already on your canvas.
02DirectPrompt the result in plain language.
03GenerateChoose the right model and visible cost.
04ShipKeep editing or move into a 3D workflow.

Stay in the canvas. Ship the asset.

AiPainter is organized around production outcomes—not a wall of model names. Each workflow begins with work you already have and ends with something you can keep refining.

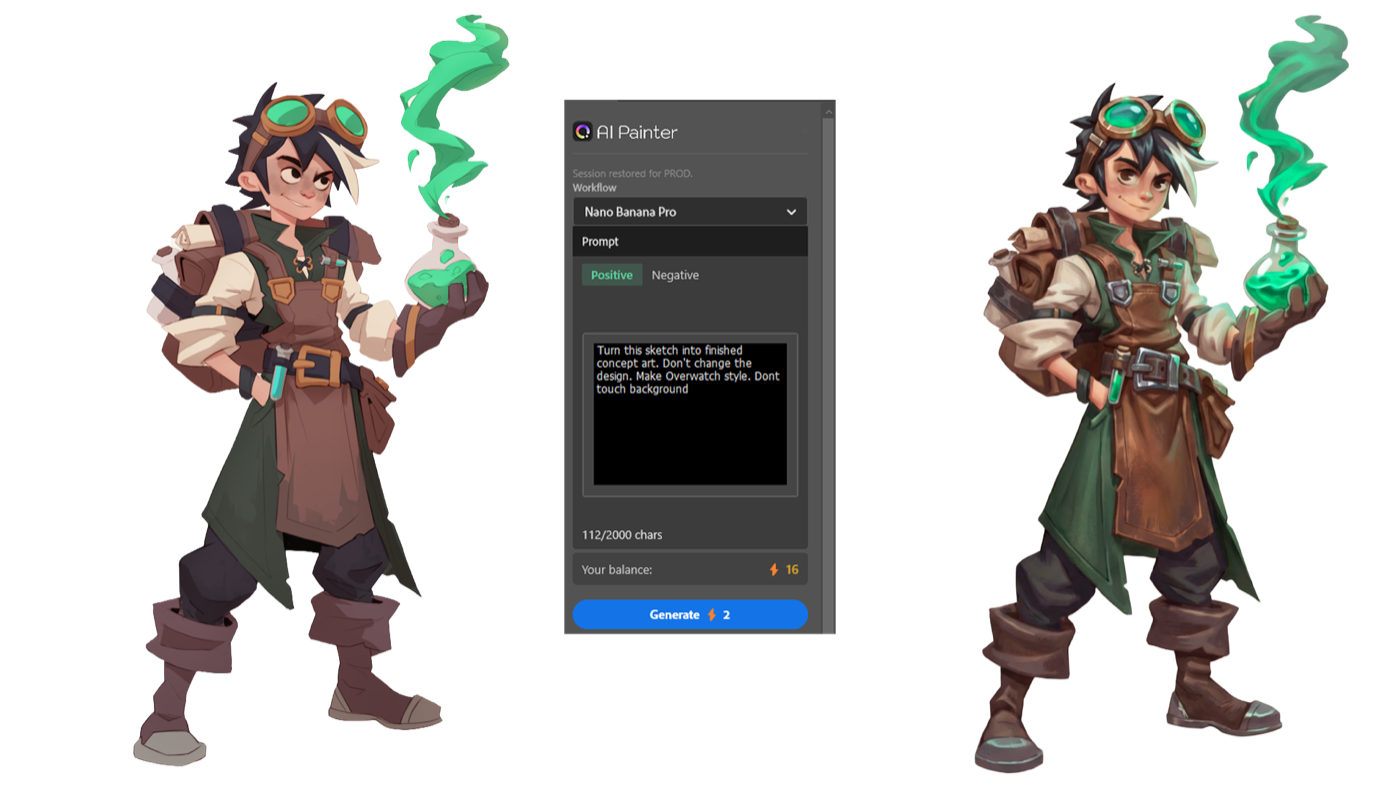
Character sketch refined into finished concept art with the AiPainter panel visible

Improve the asset you already started.

Work from a sketch, render, or selected region. Ask for a targeted change, compare the result, and keep the final edit inside Photoshop.

Model
GPT-Image 2
Current cost
1 credit
Output
Editable PNG result
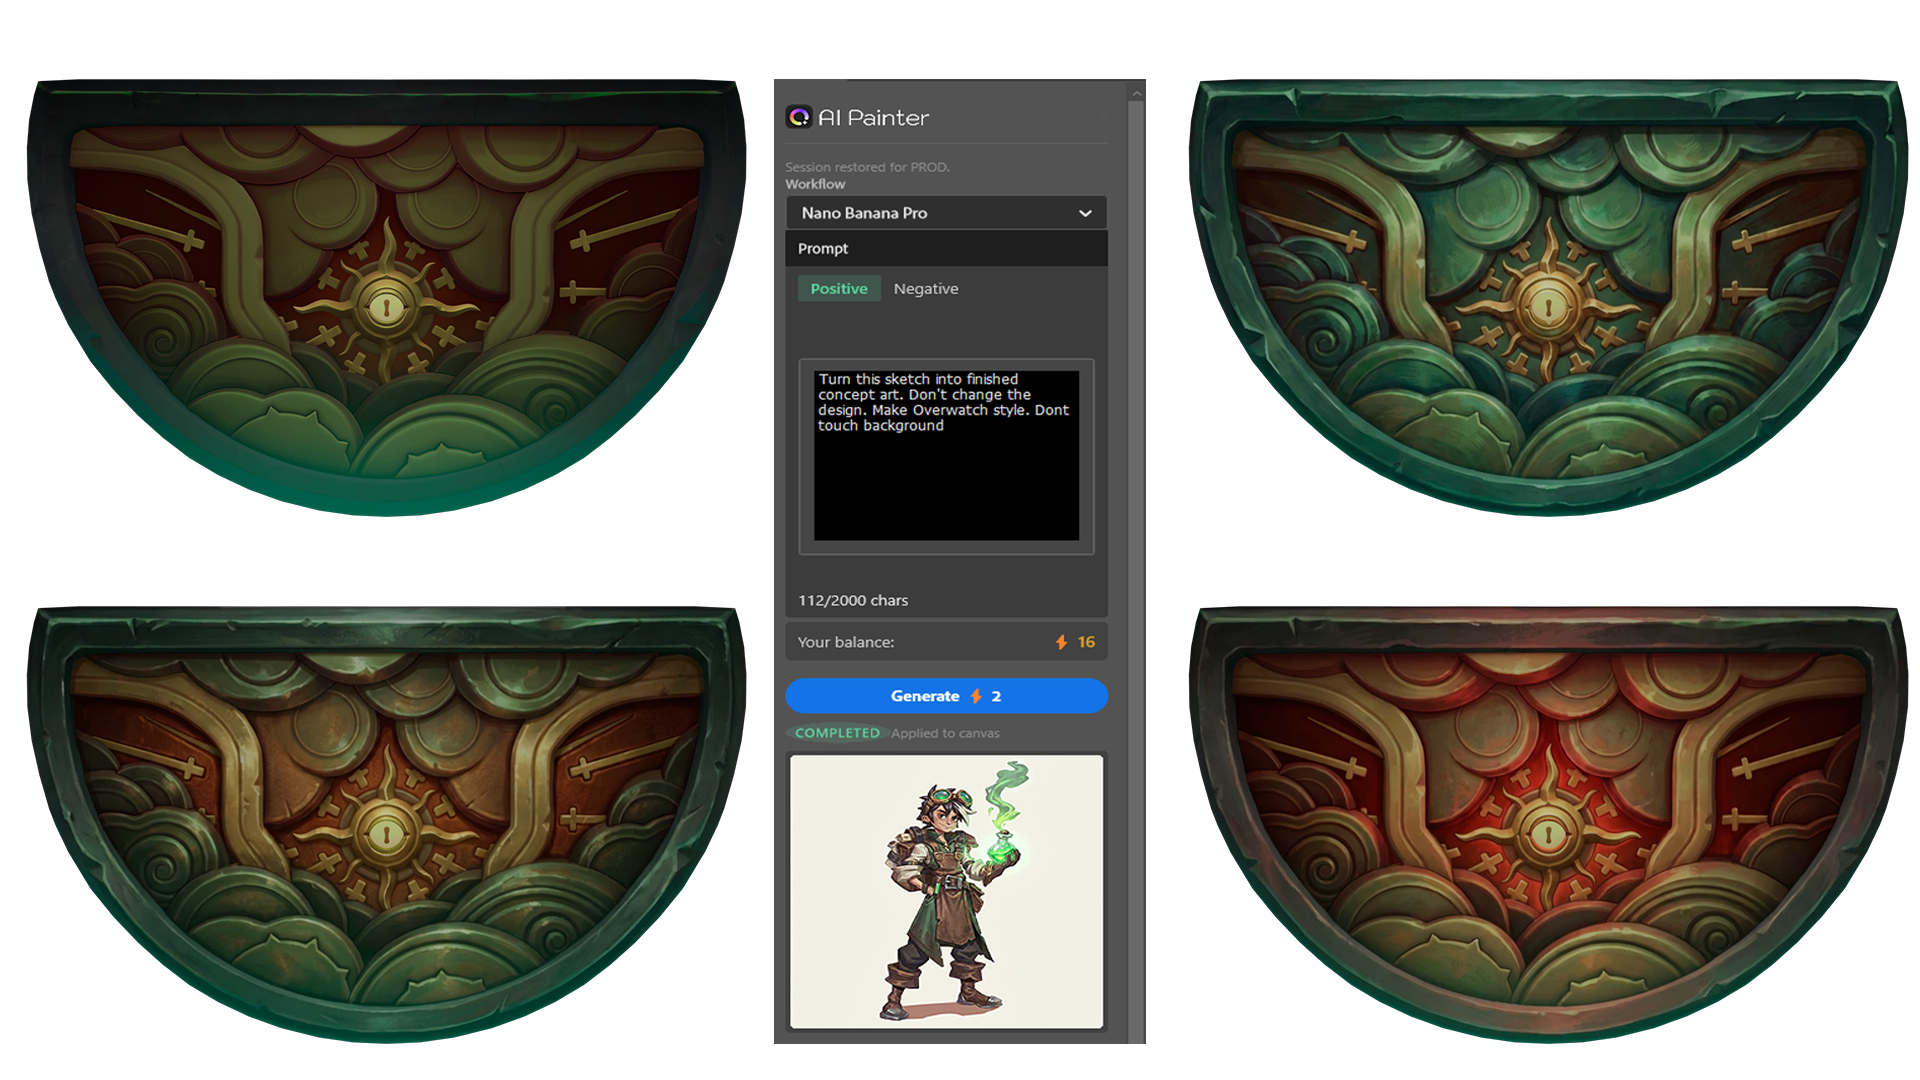
Multiple stylized texture variations generated for a 3D model

Explore texture directions without losing the brief.

Generate consistent material and color variations from the current texture, then bring the selected direction back into your production file.

Model
Nano Banana Pro
Current cost
2 credits
Output
Matched PNG variation
High-poly and low-poly 3D model outputs generated from a character image

Turn a strong image into a 3D starting point.

Create a detailed high-poly draft or an optimized low-poly draft, then continue the modeling and handoff process in your 3D tool.

Model
High Poly 3D / Low Poly 3D
Current cost
5 credits per run
Output
3D model draft

Choose by outcome. Know the cost first.

The panel shows the current generation cost before you commit. No hidden model routing and no technical setup screen between your idea and the result.

GPT-Image 2 Precise image editing and concept refinement 1 credit
Nano Banana Pro High-quality variations with matched composition 2 credits
High Poly 3D Detailed image-to-model geometry draft 5 credits
Low Poly 3D Optimized image-to-model geometry draft 5 credits

Install through Adobe. Open in Photoshop. Start creating.

Creative Cloud handles panel registration and keeps the installation path familiar. Sign in through the browser once, then return to your canvas.

Install from Adobe
  1. 01
    Install

    Open the Adobe listing and add AiPainter through Creative Cloud.

  2. 02
    Connect

    Open the panel in Photoshop and use browser sign-in to connect your account.

  3. 03
    Generate

    Select the work, choose a model, review the visible credit cost, and run.

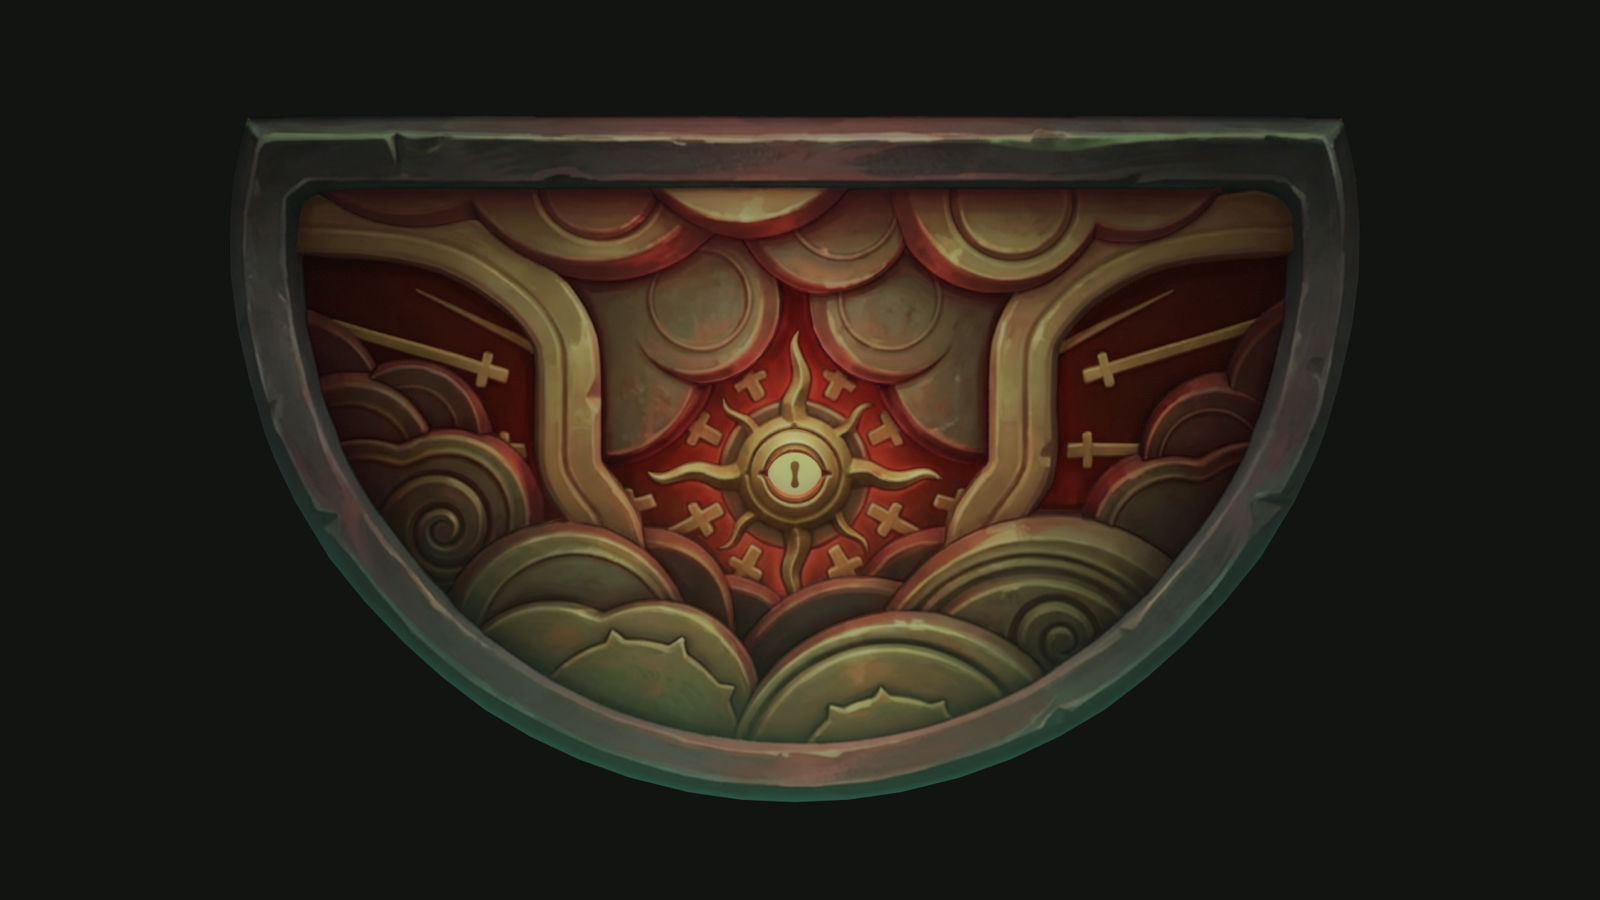
A stylized 3D character with a refined production texture

See the complete 3DCoat → Photoshop → AiPainter loop.

Follow a practical texture workflow from projection to AI variation and back onto the model, with the actual screens and decisions shown step by step.

Know what happens next.

Do I need to configure ComfyUI?

No. Built-in presets expose the models and useful controls directly in the Photoshop panel.

Where is AiPainter installed?

Install it from the Adobe listing through Creative Cloud, then open it from the Photoshop Plugins panel.

How do credits work?

The panel displays the current credit cost before every generation. The values above mirror the current built-in preset configuration.

Can I create both high- and low-poly models?

Yes. AiPainter exposes separate high-poly and low-poly image-to-3D presets so you can choose the right starting geometry.